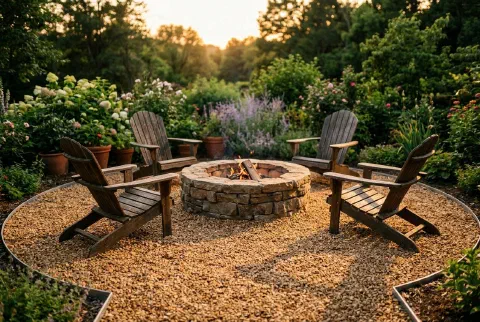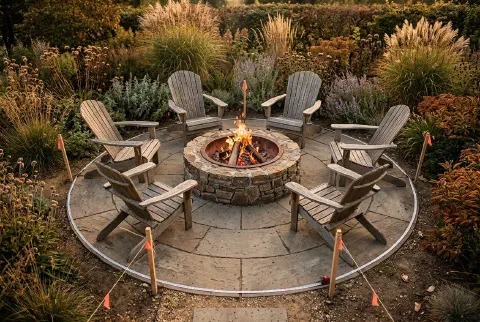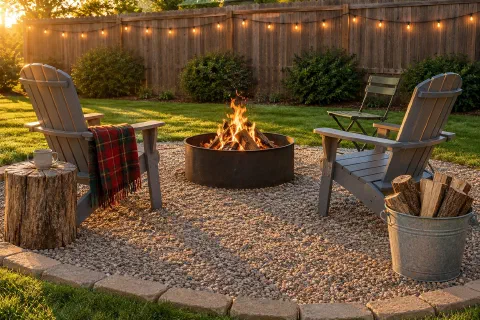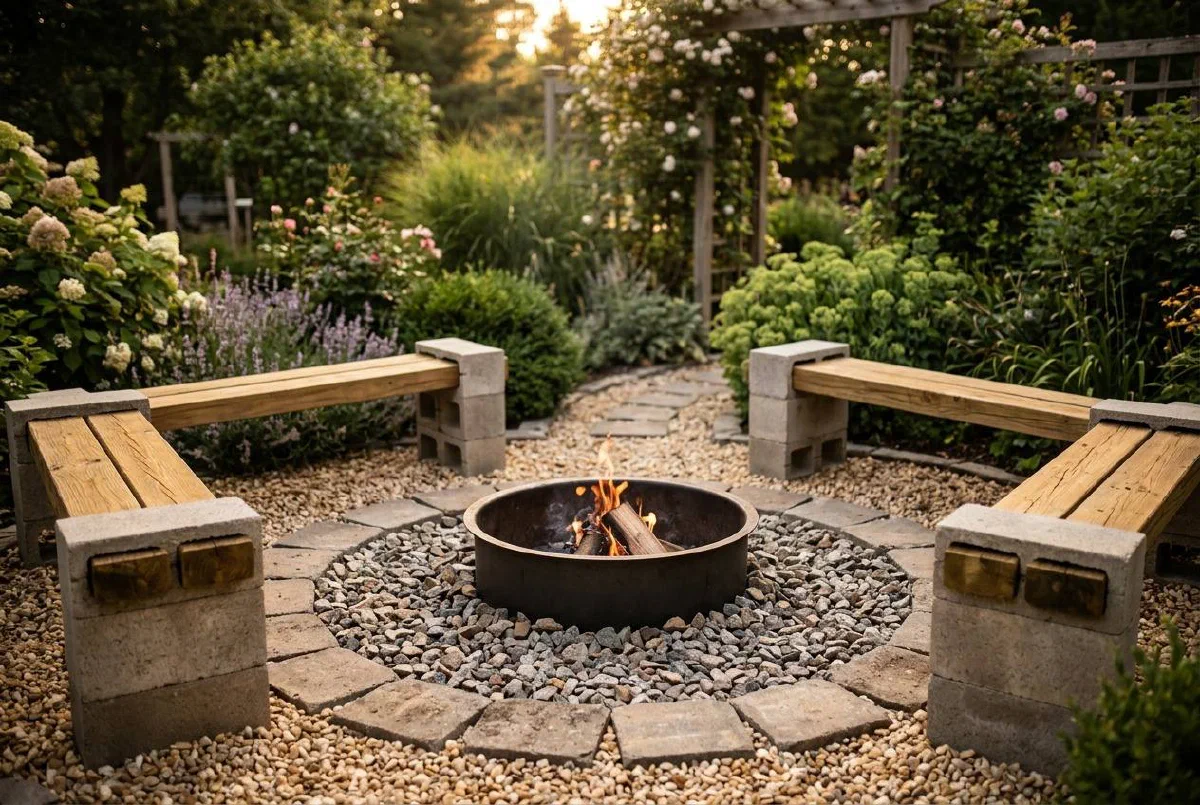
A fire pit seating area DIY project starts with an approved location, enough room for the chairs, and a surface suitable for both furniture and the appliance. It is not a universal one-weekend kit assembled from arbitrary blocks and loose boards.
Choose the fire pit and read its installation manual before ordering ground material. The U.S. Fire Administration advises at least ten feet between outdoor fireplaces or fire pits and the home or anything that can burn. Local requirements or the model instructions can be stricter. Stop at the planning stage if the site cannot meet them.
Fire Pit Layout: Measure before Digging
Use the seating-area size guide to calculate pit diameter, required gap, chair depth and rear walkway. A twelve-foot circle with a three-foot pit leaves only four and a half feet from the pit edge to the outside boundary; that space must hold the heat gap, chair and walkway, not just the gap.
Place the actual chairs on the proposed outline. Walk behind them, check entry gaps, and open any nearby doors or gates. Check required separation from fences, shrubs, overhead branches and stored fuel as well as from the house.
Choose Gravel or Concrete Pavers for the Site
| Surface approach | Useful feature | Design check |
|---|---|---|
| Compacted suitable aggregate | Can suit an informal sitting area | Local material specification, chair stability and drainage |
| Concrete pavers with a designed base | Firmer walking and furniture surface | Base, compaction and edge restraint matched to soil and climate |
| Existing approved patio | May reduce excavation | Appliance approval, load, level and required clearances |
A layer of pea gravel alone does not guarantee drainage or firm pavers. Follow the surface supplier’s installation specification. Do not fill a steel fire ring with stone or put fabric beneath its hot zone unless the fire-pit design expressly calls for it. Ground cover and firebox lining are different decisions.
A Practical Build Sequence
- Confirm location and rules. Check the appliance manual, local fire department guidance, permits and any HOA restrictions.
- Check underground services. Arrange the applicable utility-location process before excavation, stakes or posts. Plan drainage rather than directing runoff onto a neighbor or structure.
- Mark the complete footprint. Include chairs, entry gaps and walkways, then calculate area and material volume.
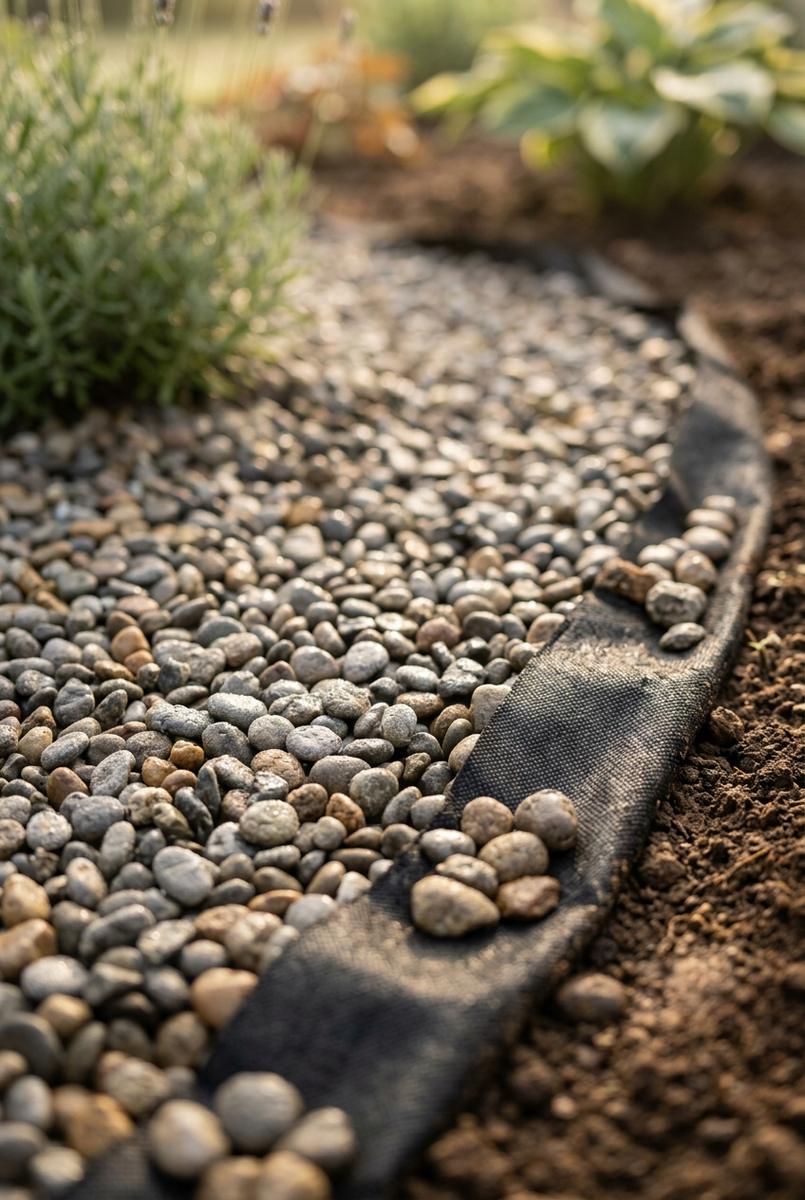
- Follow the chosen surface specification. Excavation, base depth, drainage and compaction depend on the site. Do not use one four-inch dig depth for every soil or frost condition.
- Install and inspect the appliance as directed. A portable pit, a listed kit and a permanent masonry design have different requirements.
- Place rated outdoor seating. Check stability on the finished surface and retain all required heat clearance.
- Add path lighting and storage. Keep cables, fuel, cushions and loose fabric out of the hot zone and walking route.
Cinder Blocks and Lumber Are Not a Verified Bench Kit
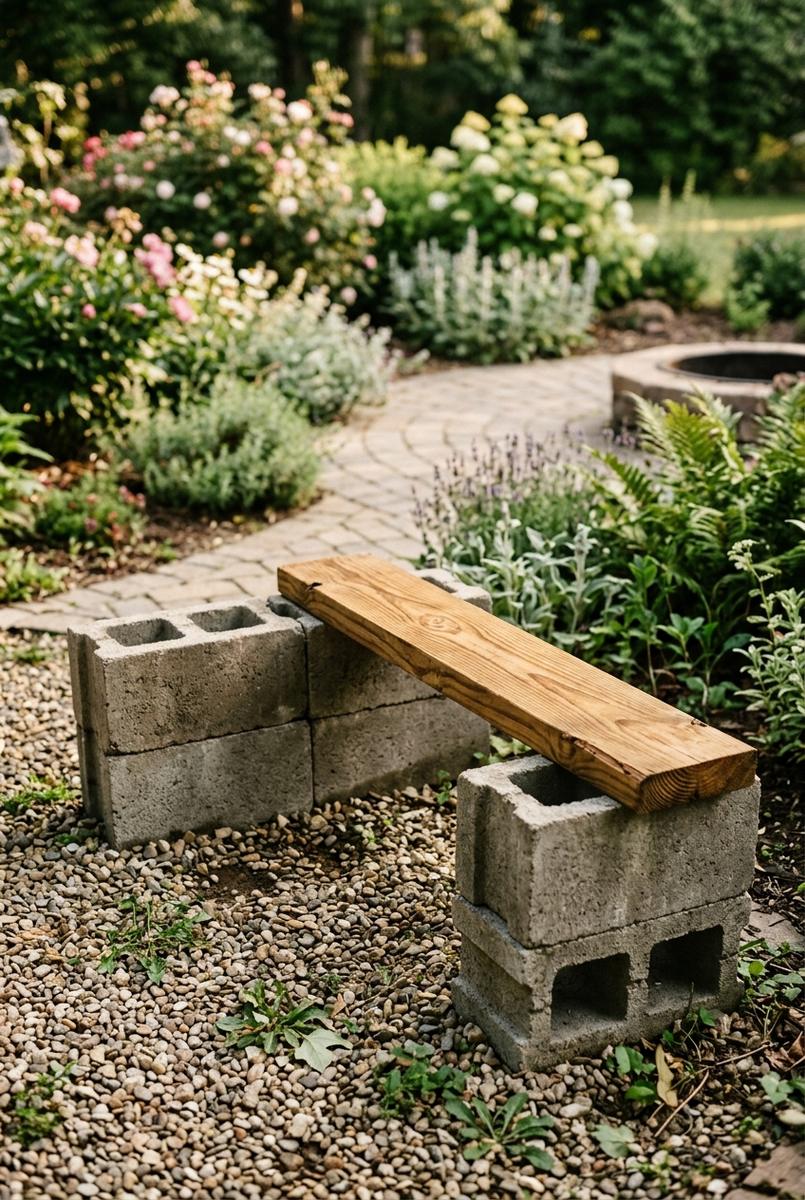
Do not balance unfastened planks on loose cinder blocks and assume their weight holds everything safely. Seating needs a design suited to people moving, leaning and sitting on it, along with a suitable base, attachment and span.
If you want a built-in bench, choose a rated kit or an appropriate designed construction method. Check the load, foundation, drainage and material instructions. Filling hollow blocks with sand is not a proven cure for every freeze-thaw problem.
Budget the Whole Project
Count the appliance, surface material, delivery, edging, equipment rental, seating and any professional work. Existing approved ground and chairs may reduce costs, but a larger ring does not necessarily fit a fixed three-hundred-dollar allowance.
For bulk stone, calculate cubic volume and ask the supplier to convert it using the actual material density. Delivery and access can cost as much as a small material order. Compare gravel choices and volume before buying.
Care Before Use and After Winter
Check that the pit and chairs sit securely, the walking route is clear, and nearby planting has not grown into required clearance. Repaired coatings, finished timber and cushions still need the care specified by their makers.
Read NFPA’s outdoor-fire guidance alongside current local restrictions. Supervise burning, keep a suitable extinguishing method available and extinguish completely. Wind, drought or a burn ban can make an otherwise usable sitting spot unsuitable for a fire.
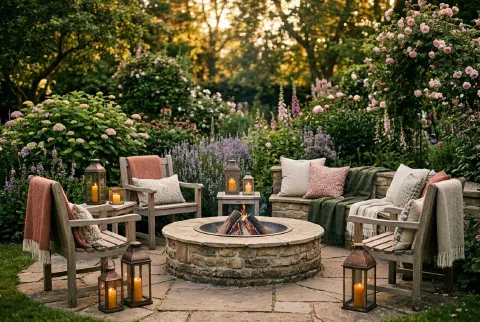
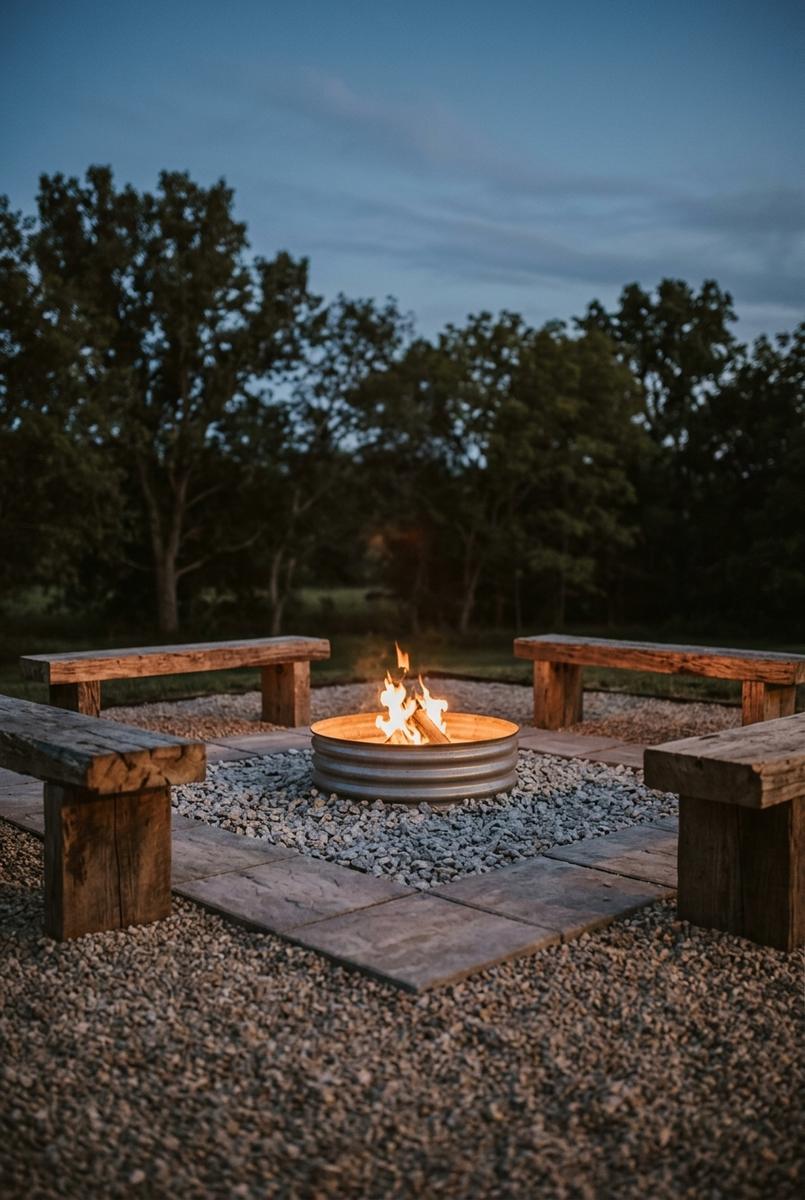
The useful result is a stable place to sit with a safe route in and out. Treat the pictures as layout inspiration and the appliance and construction instructions as the basis for the actual build.
What to Read Next
- Fire pit gravel types and costs because the surface under the chairs decides whether the whole area feels solid.
- Fire pit seating area size for the measurement this build starts from.
- Budget fire pit ideas for a cozy backyard if you want the fire first and the benches later.
- Backyard lighting ideas for soft summer evenings once the seating circle is safe and you want to use it after dark.